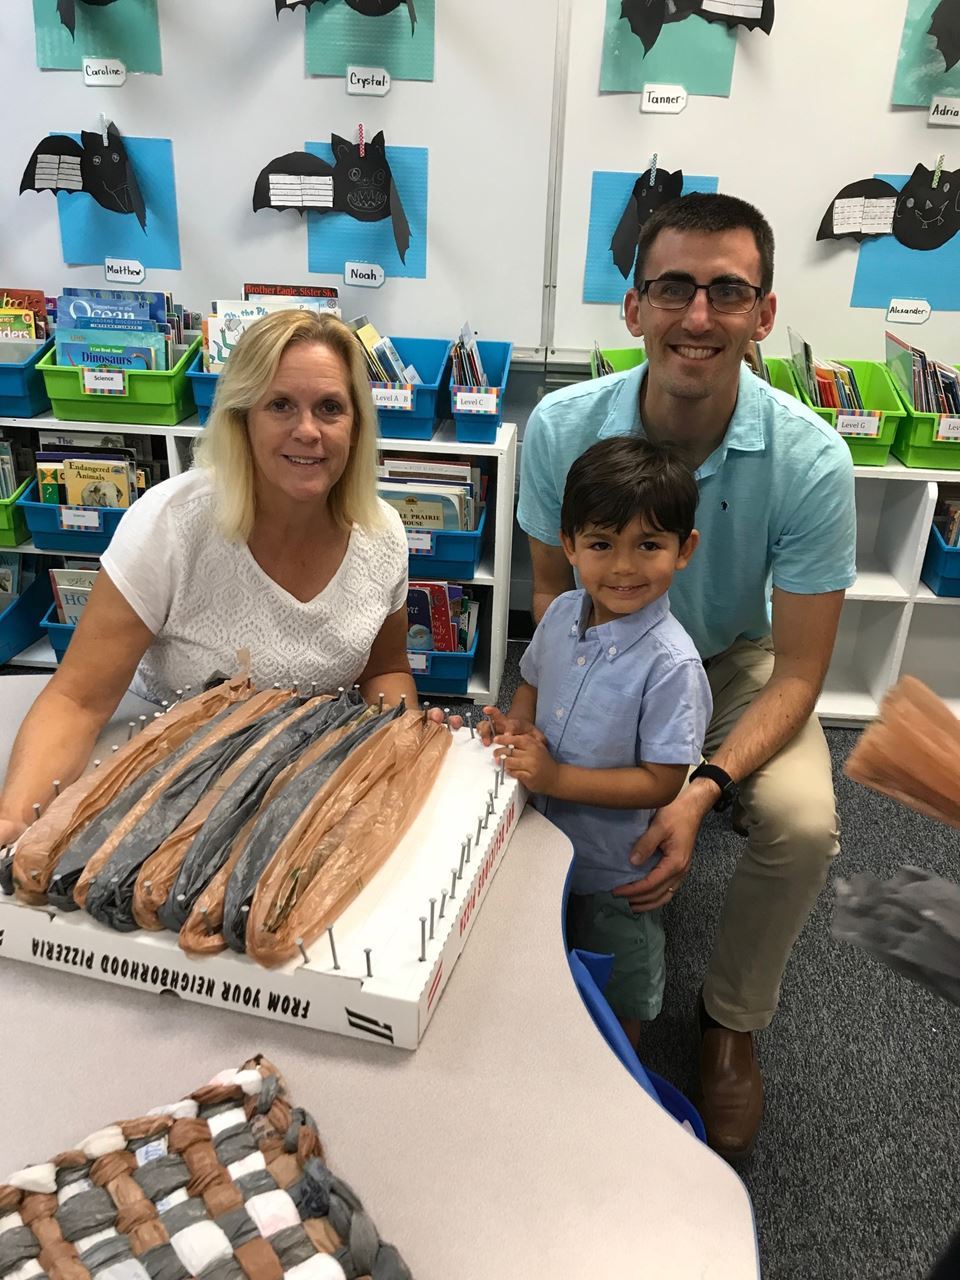

Pizza Box Loom for Plarn (Plastic Bag Yarn) |
Materials:
|   |
Directions:
- Reinforce the inside perimeter of your pizza box with cardboard tubes stuffed with plastic bag scraps, shredded paper or dryer lint. Glue tubes to the bottom of the pizza box so they won't move.
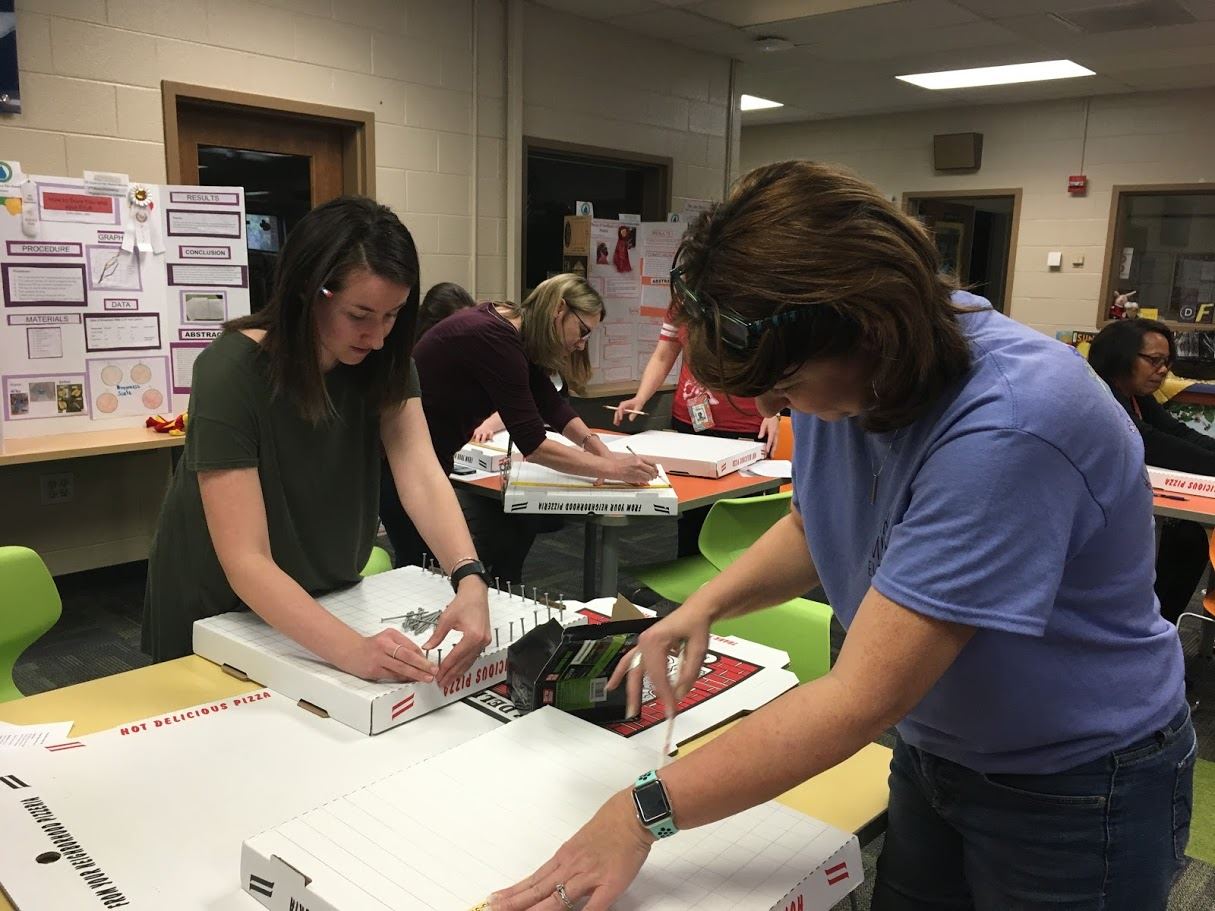
- With a pencil and a ruler draw horizontal and vertical lines through the center of the pizza box. Then align one of the edges of the ruler with your center lines and trace lines against the other edge of the ruler to draw a grid. You will have 14 squares each way. (A tighter grid can be drawn by measuring and marking smaller boxes. This will produce a sturdier mat but may be challenging for children.)
- Push one nail into the end of each grid line around the perimeter. This takes a total of fifty-two (13 per side x 4 sides) 3-inch nails, with 2 inches of each nail anchored into the box and reinforcing tubes and 1 inch sticking up above the box to form a peg. No nail is needed in the four corners of the grid. Remove each nail, place a drop of Elmers Glue in the hole and reinsert the nail. (Check after each use to see if more glue is needed.)
- Gather a stack of used multi-colored #2 plastic grocery bags with 11" hems. You will need: 6 plastic grocery bags of color "A", 7 bags of color "B" and 13 bags of color "C". Lay each bag right side out and flat on a table. Fold each bag in half vertically, aligning the handles. Then fold once more vertically. Cut off the bottom hem and handles. Open each bag to form a loop. (An easier version for young children can be made by cutting each bag into four loops.) Reuse the scraps for other projects, or bag and recycle the scraps at a local store or at your school for the TREX Challenge.
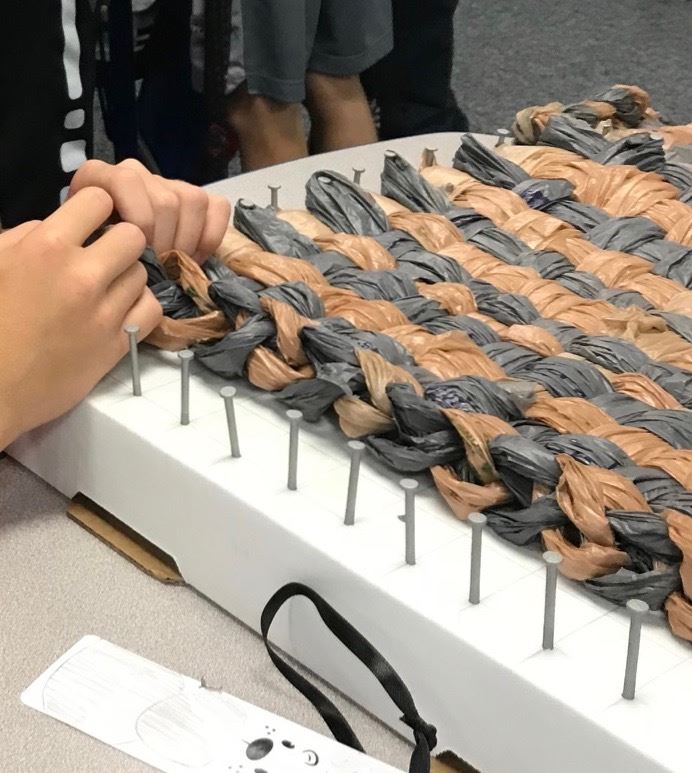
- Stretch 13 loops of alternating colors "A" and "B" peg to peg horizontally. Stretch two or three rubber bands over the pegs securing the loops so they don't pop off during weaving.Then weave the 13 matching loops of color "C" vertically. Be sure loops are just slightly loose on the pegs.
- Starting at a corner, finish the edges by pulling the end of one loop through the end of the loop to its right. Continue looping to form a finger crocheted edge around the mat. Ask someone who has made potholders to show you how or click here and start with Step 9.
|
You can now:
Recommended Book: One Plastic Bag: Isatou Cessay and the Recycling Women of the Gambia by Mironda Paul. Great projects and lesson plans online. |